

Description
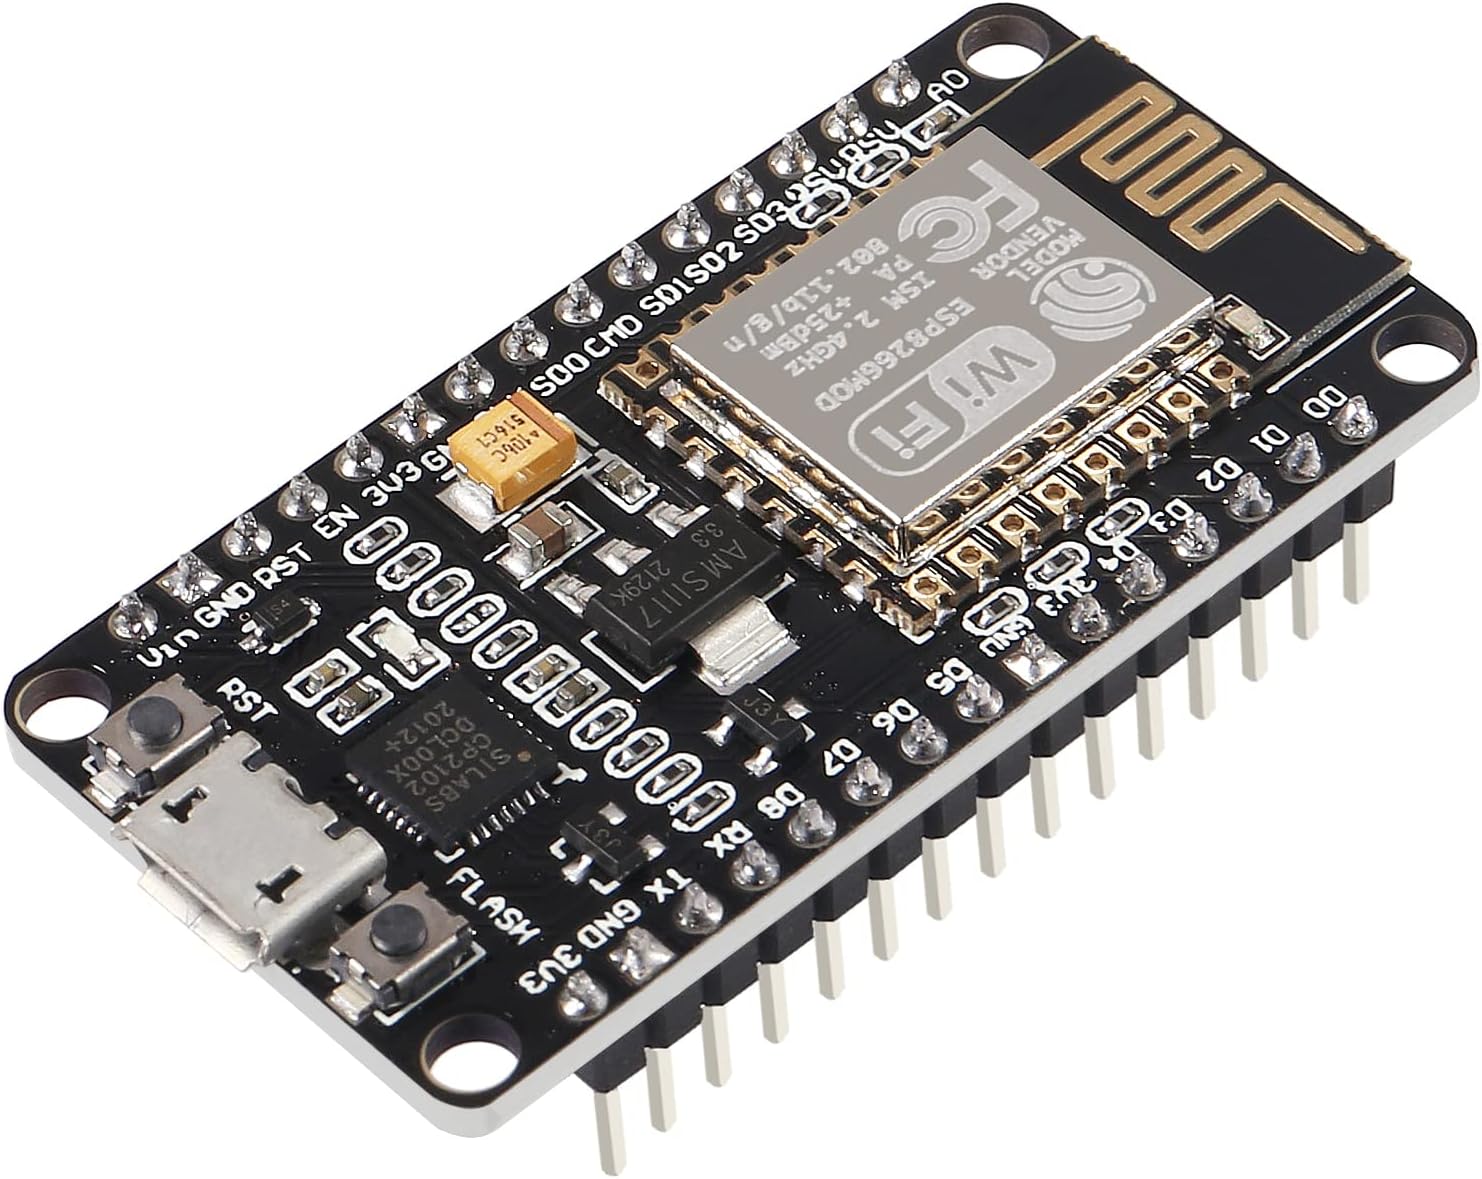
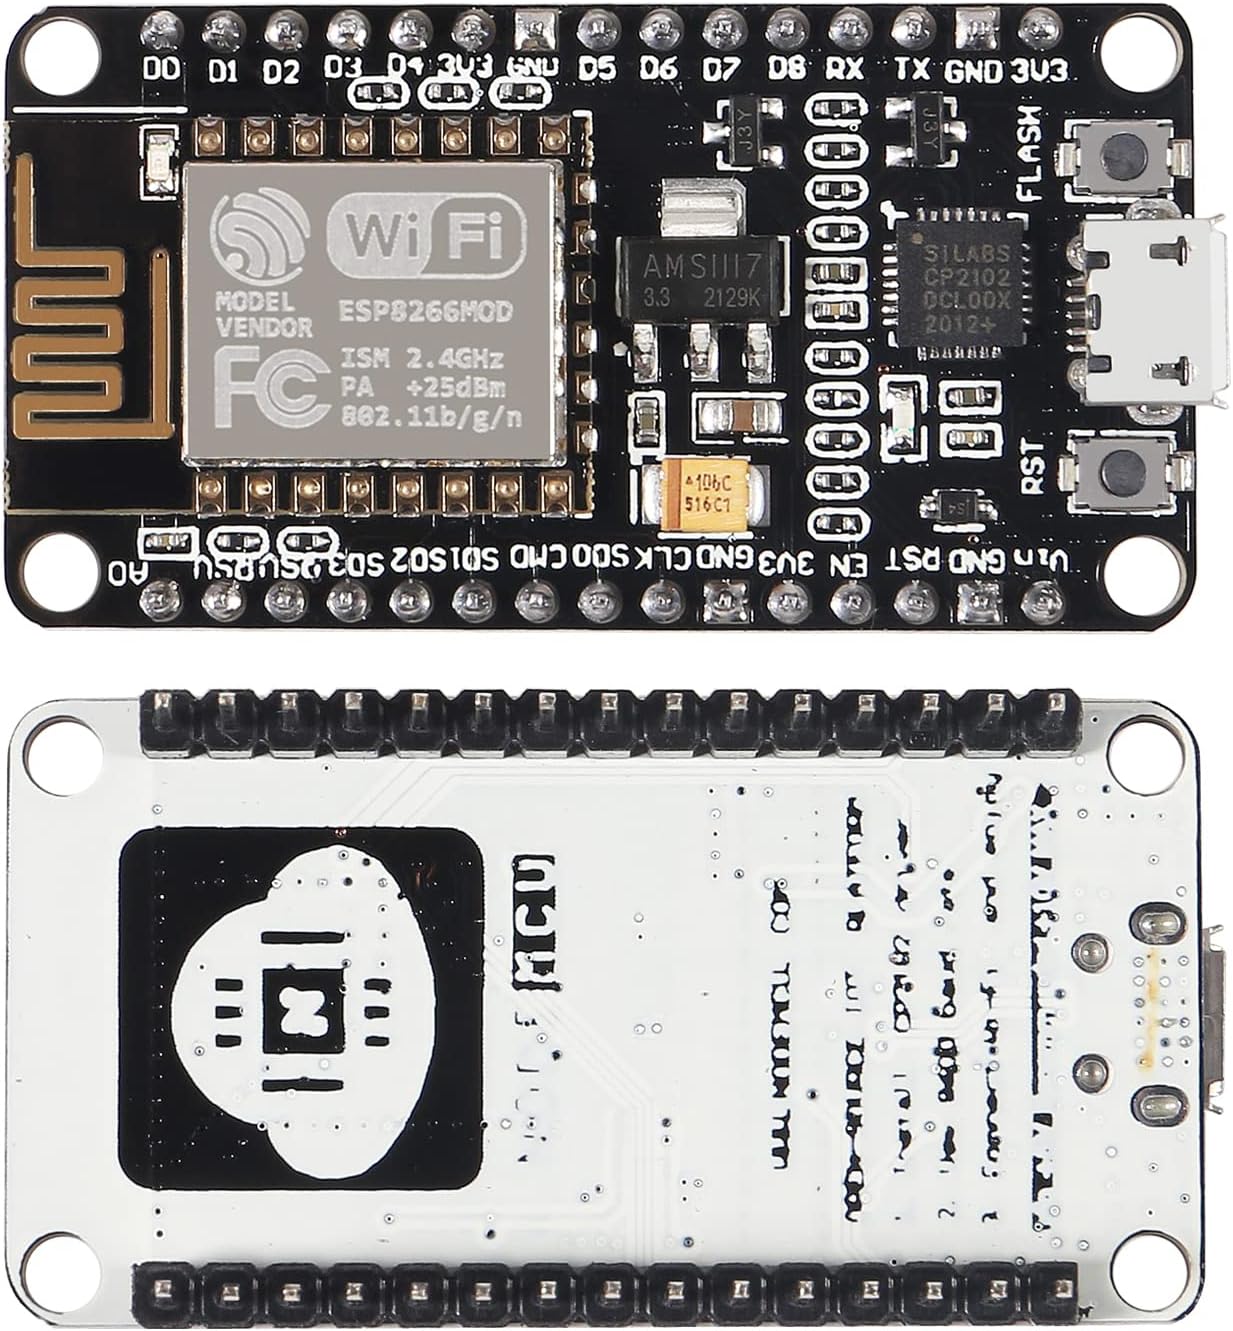
Support wireless 802.11b/g/n standard Support three working modes of STA/AP/STA+AP Built-in TCP/IP protocol stack, supports multiple TCP Client connections (5MAX) D0~D8, SD1~SD3: used as GPIO, PWM, I2C, etc., port drive capability 15mA AD0: 1 channel ADC Power input: 4.5V~7V, support USB power supply Working current: continuous transmission: approximately equal to 70mA (200mA MAX), standby Transmission rate: 110-460800bps Support UART/GPIO data communication interface
How to use: 1. Download the Arduino IDE, the latest version. 2. Install the IDE 3. Set up your Arduino IDE as: Go to File->Preferences and copy the URL below to get the ESP board manager extensions: arduino8266/stable/package_esp8266com_index 4. Go to Tools > Board > Board Manager> Type “”””esp8266″””” and download the Community esp8266 and install. 5. Set up your chip as: Tools -> Board -> NodeMCU 1.0 (ESP-12E Module) Tools -> Flash Size -> 4M (3M SPIFFS) Tools -> CPU Frequency -> 80 Mhz Tools -> Upload Speed -> 921600 Tools–>Port–> (whatever it is) 6. Download and run the 32 bit flasher exe at Github(Search for nodemcu/nodemcu-flasher/tree/master/ at Github) github/nodemcu/nodemcu-flasher/tree/master/Win32/Release Or download and run the 64 bit flasher exe at: github/nodemcu/nodemcu-flasher/tree/master/Win64/Release. 7. In Arduino IDE, look for the old fashioned Blink program. Load, compile and upload. 8. Go to FILE> EXAMPLES> ESP8266> BLINK, it will start blinking.
Data download access to the website: http://wwwmcu/index_en Firmware link: https://github/nodemcu/nodemcu-firmware
Package included: 1 x ESP8266 CP2102 development board